|
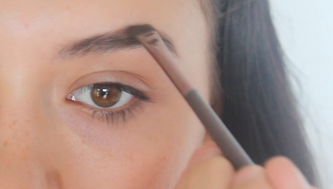
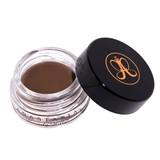
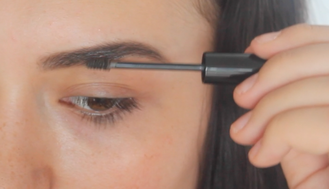
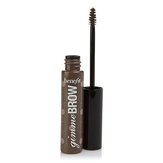
Hi everyone! Today I'm going to show you how I got this dramatic, evening makeup look. I also posted a tutorial on my YouTube channel so click the photo below if you'd like to watch it. 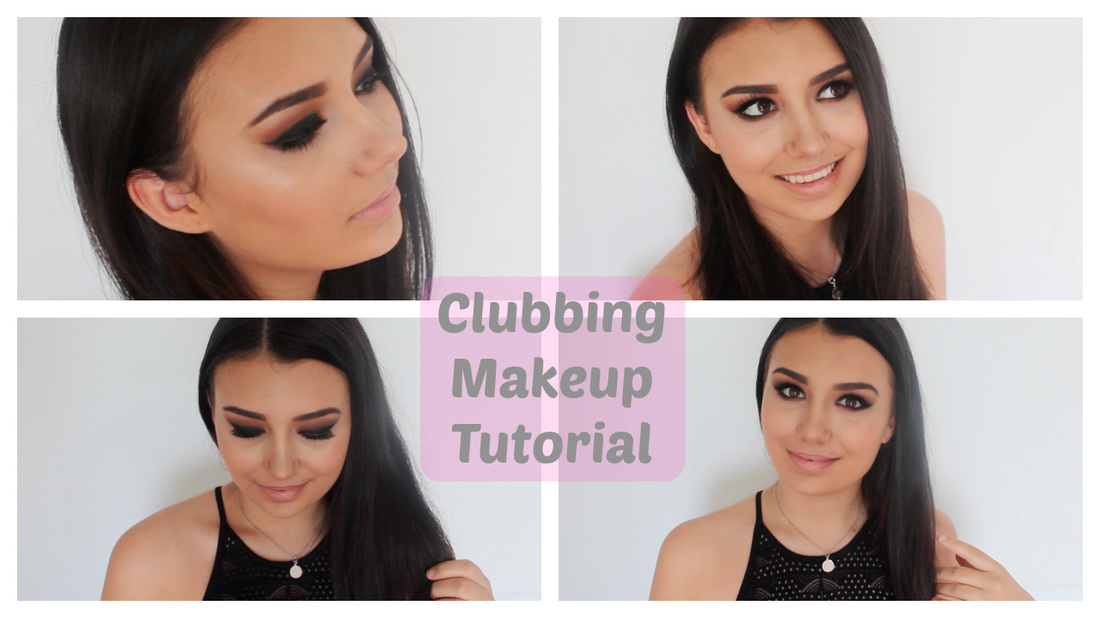 Let's get into it! First step is to fill in your eyebrows - a very important step in my opinion. I use a Revlon spoolie to brush out my eyebrows. Then using the Anastasia Beverly Hills Dipbrow Pomade in Medium Brown and an angled brush from Nude to first outline my brows, leaving the front of my brows with less product. Then adding more product to the end of my eyebrows to extend them and filling in the sparse areas. Once they are filled in to my liking, I use the Benefit Gimme Brow, Brow Mascara in Medium/Deep to keep my eyebrow hairs in place all night.
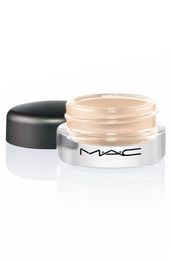
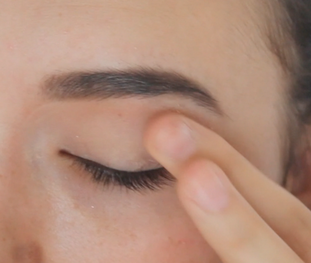
I then used Mac Soft Ochre Pro Longwear Paint Pot to prime my eyelids. I use my finger to spread product from eyelid to eyebrow, making sure it's all blended in. This primer helps keep eyeshadow on all day and makes eyeshadow colours brighter & more pigmented.
Then using the eyeshadow colour Coconut Créme from the Too Faced Semi Sweet Palette and the Real Techniques Setting Brush I blended this colour all over the lid to set the primer and stop it from moving underneath the eyeshadows.
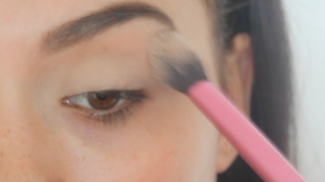
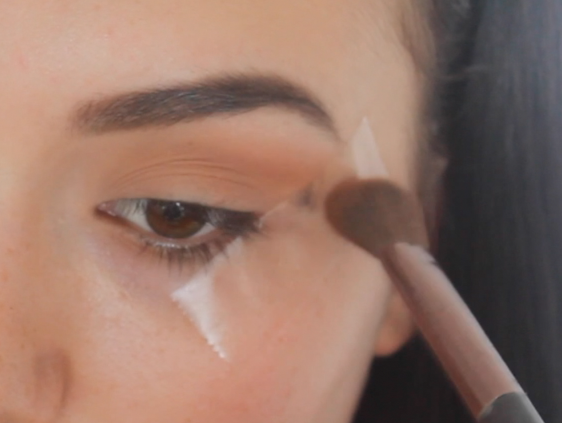
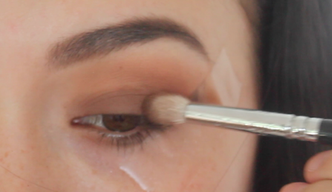
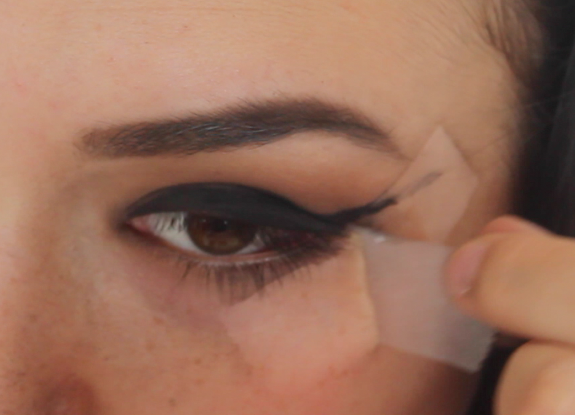
Now time for the eyeshadow. I start by warming up the crease with Peanut Butter from the same palette. I blend this not-so-neatly around the crease with a fluffy eyeshadow brush from Nude. I use sticky tape on the outer corner of my eye to reduce fall out and create a harsh line. I will take off sticky tape after eyeshadow is complete.
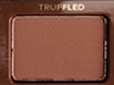
Next is to add some darkness. I did this slowly by adding the eyeshadow colour called Truffled which is a dark brown shade. I applied this all over the lid and blended it into the crease with the Zoeva 231 Luxe Petit Crease brush.
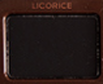
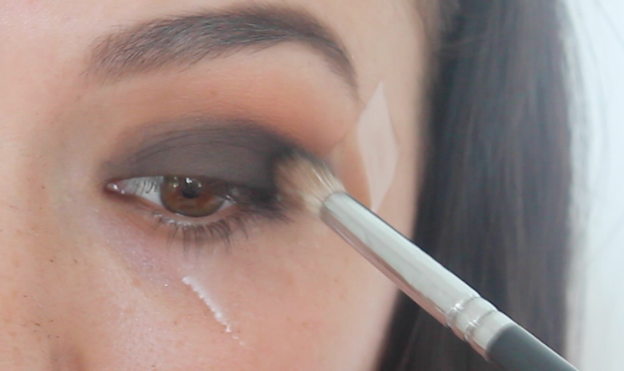
To really darken the eye and create that dramatic smokey eye look I use the eyeshadow Licorice and apply this with the same Zoeva brush all over the lid.
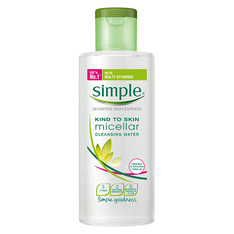
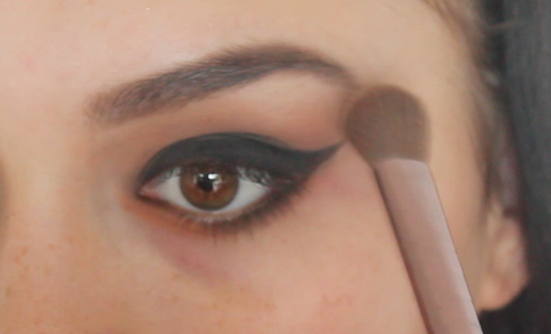
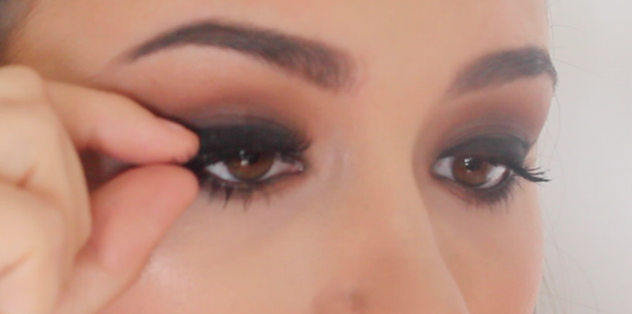
Time for the eyeliner! This is what makes this look so cat-eyed. I used a black pencil all over the upper lash line and extended to the stick tape. I did this quite messily and smudged it out. Ignore the fall out, it will be cleaned up soon! 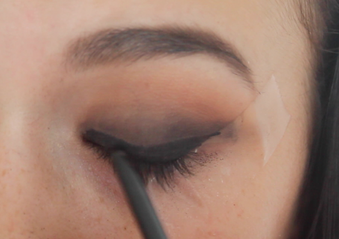 Now I pull off the sticky tape and clean up any fall out with some Simple Micellar Water.
I then applied three colours on the lower lash line with the Yuva angled brush. I used Peanut Butter towards the inner corner, Truffled the rest of the way across the lower lash line and Licorice over the top of Truffled; close to my lower lashes.
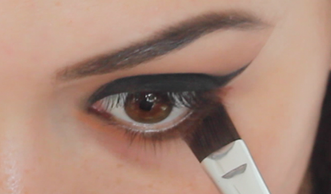
Then to highlight my eye I use Butter Pecon on my brow bone and in the inner corner. And I apply some black pencil liner on my water line & tight line to darken up the look.
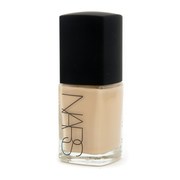
Time for the skin! Yay! I am using the Models Prefer Liquid Light Brightening Primer to keep my foundation on all day. This primer is super brightening and makes the skin glow. I apply a small amount to my fingers and blend it in with my hands. 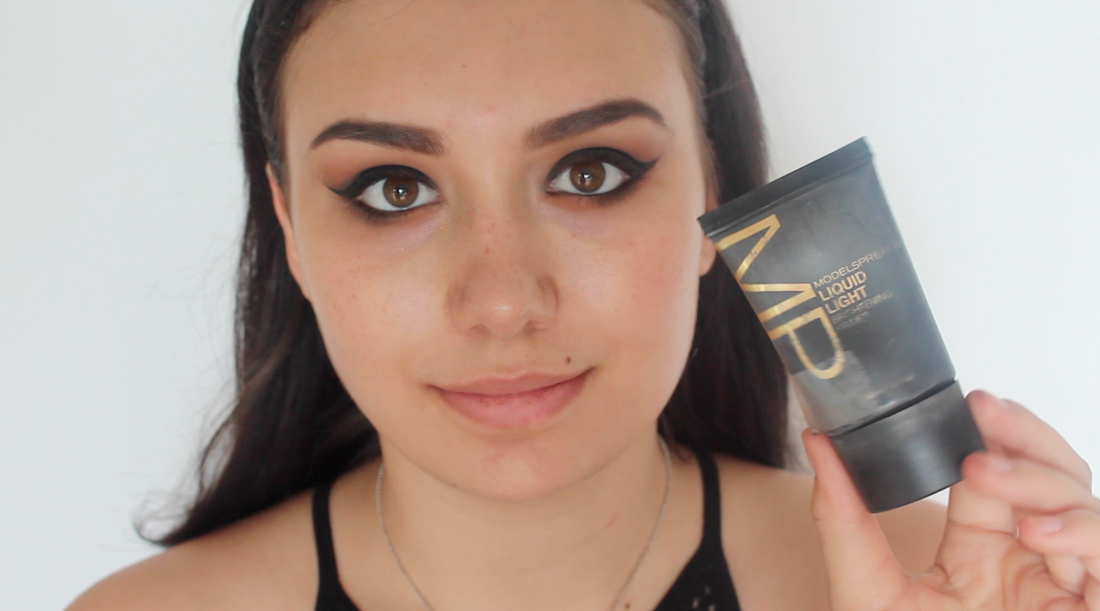 The foundation I'm using is Nars Sheer Glow in the colour Barcelona Medium 4. I first dot this all over my face with the Eco Tools flat foundation brush.
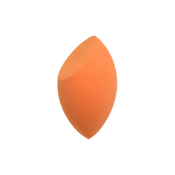
Then BLEND! I use my favourite sponge ever which is the Real Techniques Miracle Complexion Sponge.
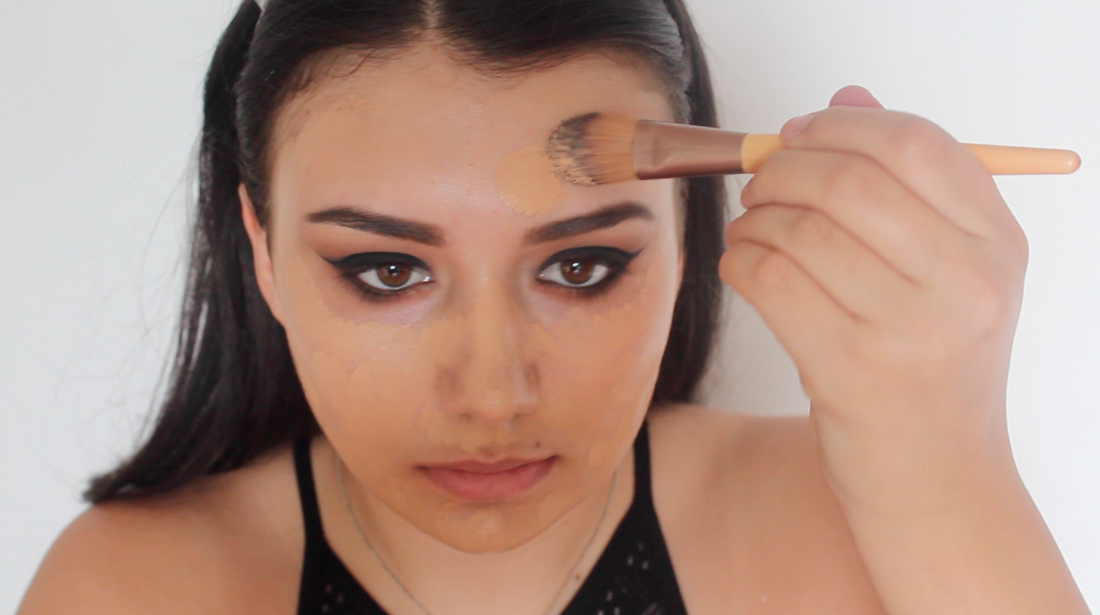
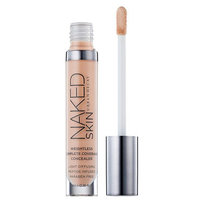
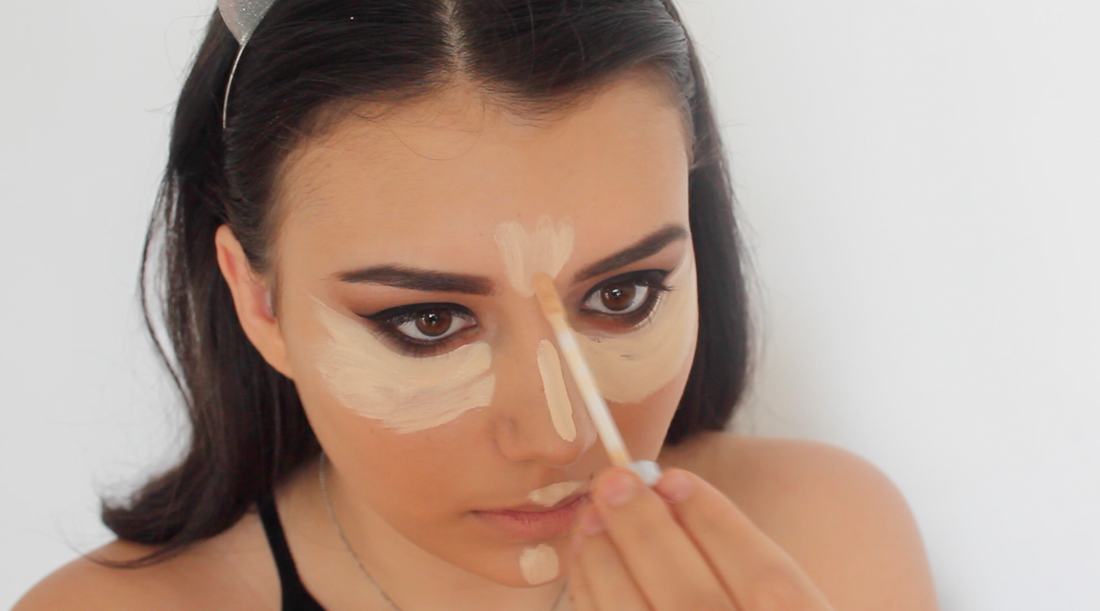
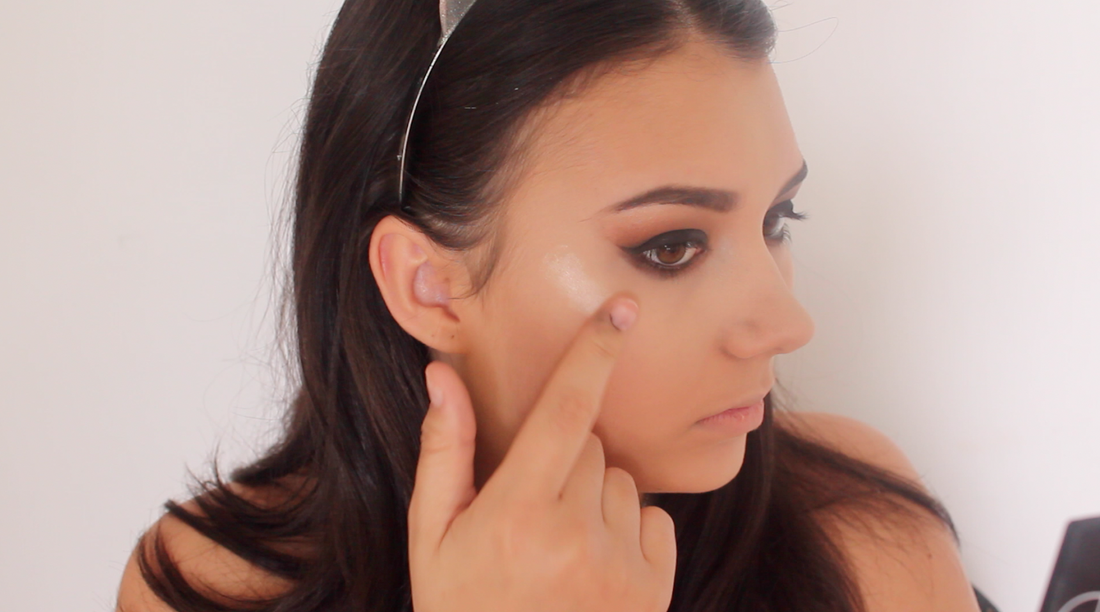
To conceal and highlight my skin, I use the Naked Skin Concealer by Urban Decay in the colour Light Warm. I apply it to my under eyes, down the bridge of my nose, chin and between my eyebrows/forehead. Then blend with the same sponge.
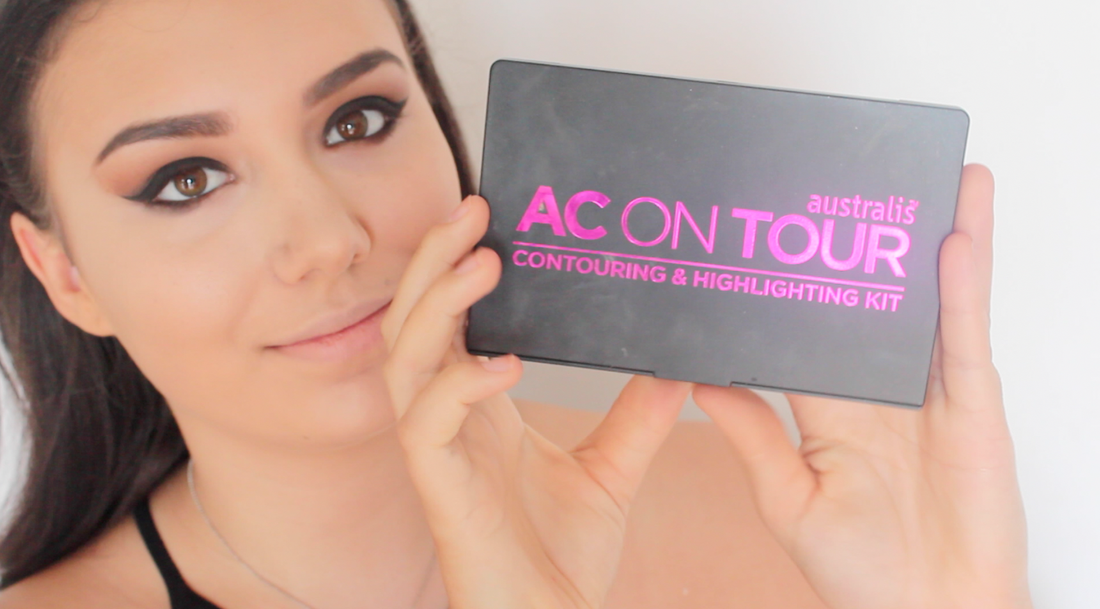
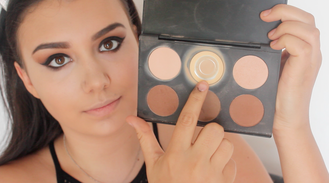
To set my concealer I used the Australis AC on Tour Powder Highlight & Contour Palette with the banana shade. Again, using the damp sponge to apply.
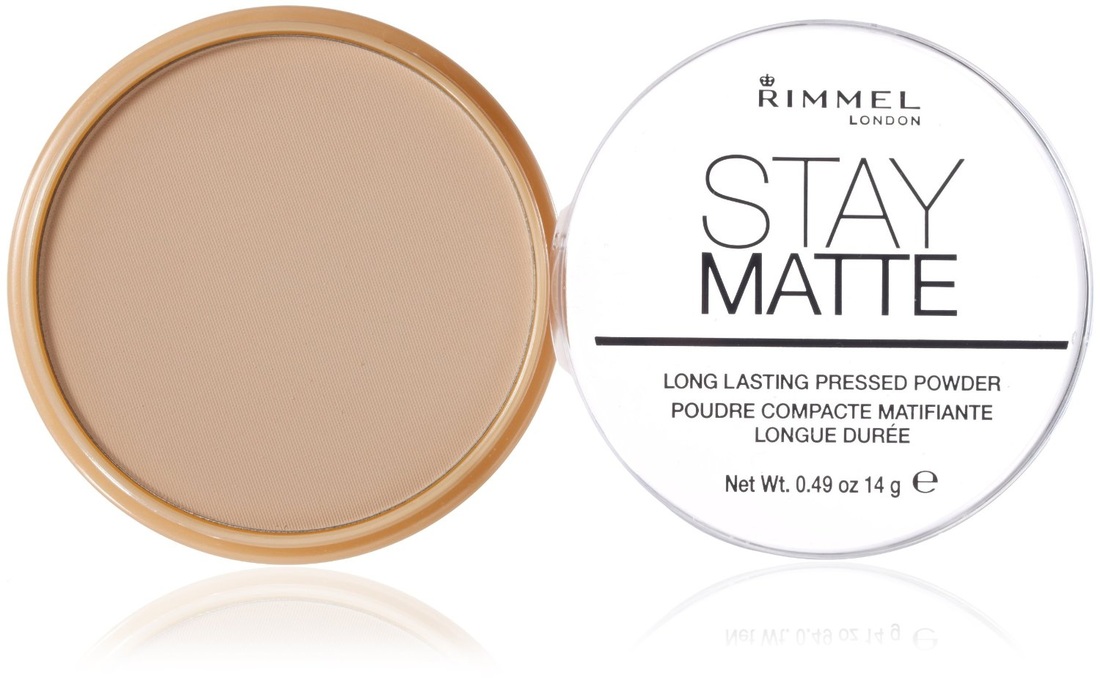
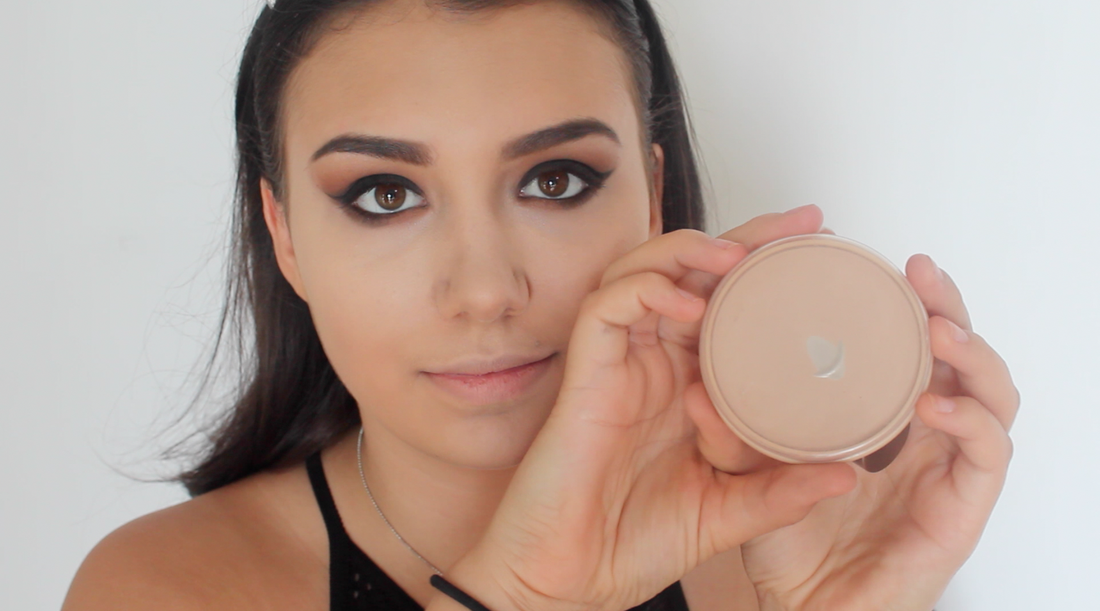
To powder my entire face and set my foundation I use the Rimmel London Stay Matte Powder in Sandy Beige. I use a Nude Flat Top Kabuki brush to apply.
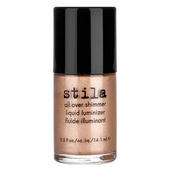
Now time to apply some cream highlighter. I'm using the Stila All Over Shimmer in Kitten. I pat it one my cheekbones and blend with a sponge.
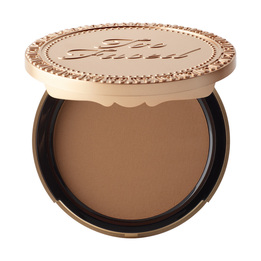
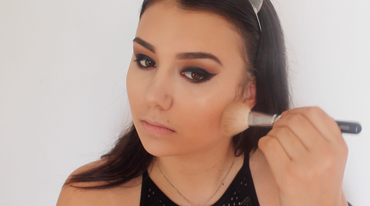
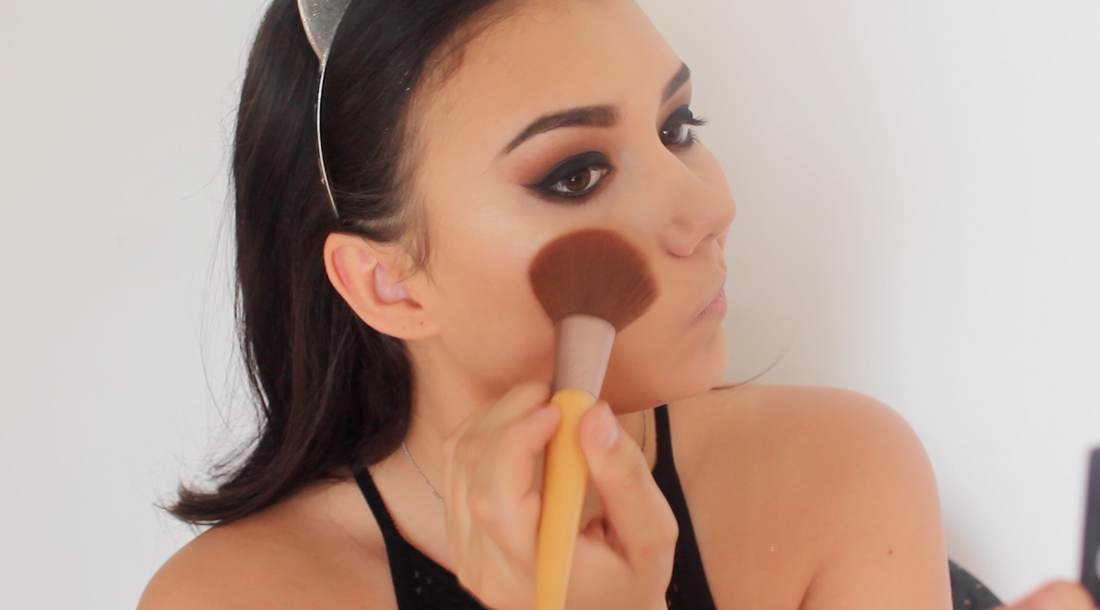
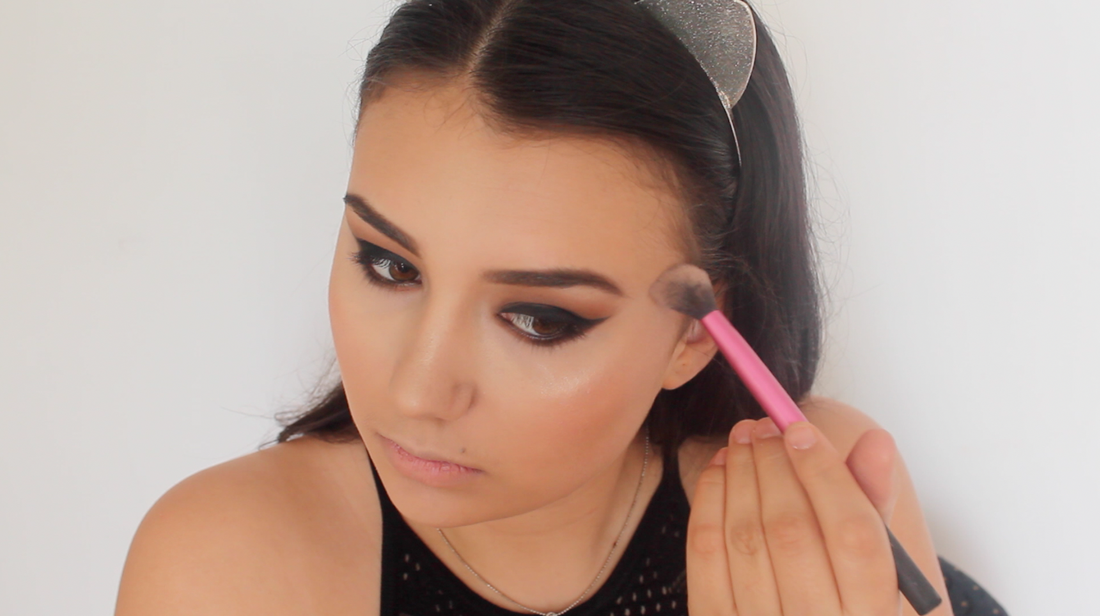
Next step is to bronzer and contour. I use the Too Faced Chocolate Soleil in Medium/Deep and the Zoeva 127 Luxe Sheer Cheek brush to apply to below my cheekbones, jawline and temples.
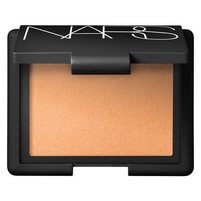
I apply the Nars Lustre Blush to my cheek bones with the Eco Tools cheek brush. I love this blush so much!
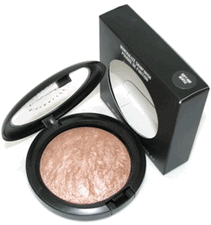
I apply Mac Soft & Gentle Mineralise Skin Finish over the cream highlighter and on my nose, forehead and cupids bow. I apply it with the Real Techniques Setting Brush.
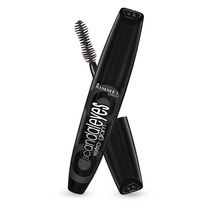
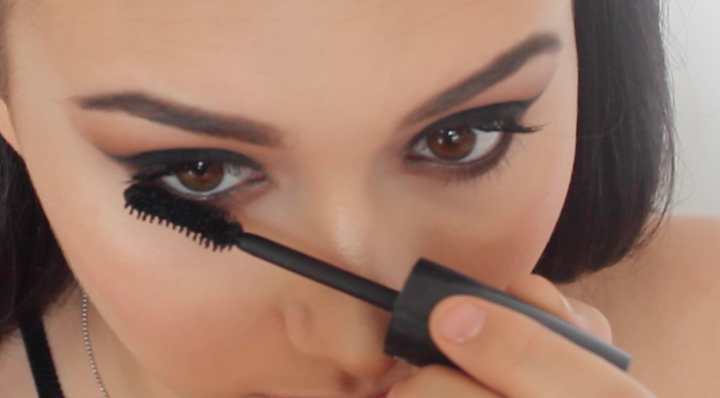
The next step is to apply some mascara to my top and bottom lashes. I am using the Rimmel London Scandaleyes Retro Glam Mascara.
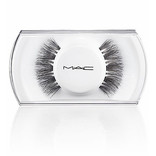
LASHES! I love these Mac lashes. I apply with some Ardell Lash Glue and tweezers (remembering to measure/cut them).
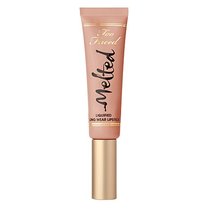
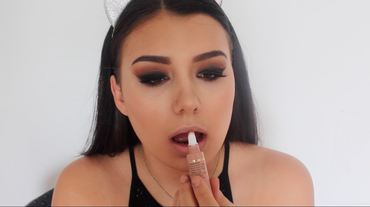
And the final step is the lips. I'm using the Too Faced Lipstick in Melted Sugar and the Savvy Chestnut Lipliner.
And that is the finished makeup look! I hope you enjoyed watching how I created this evening/clubbing makeup look. Comment below if you would like to see more makeup tutorials on my blog :) 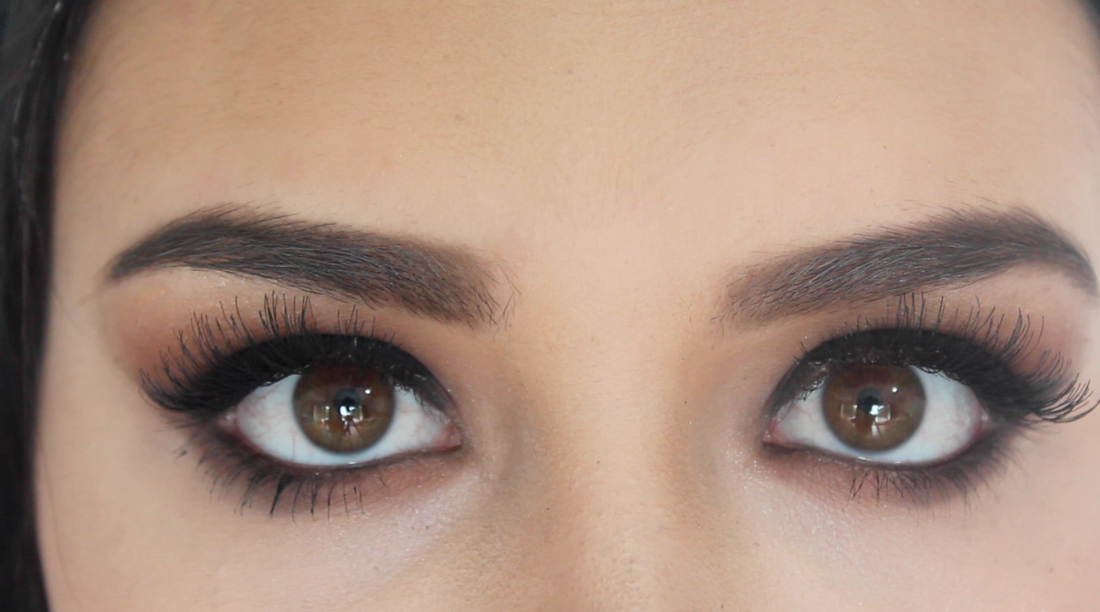 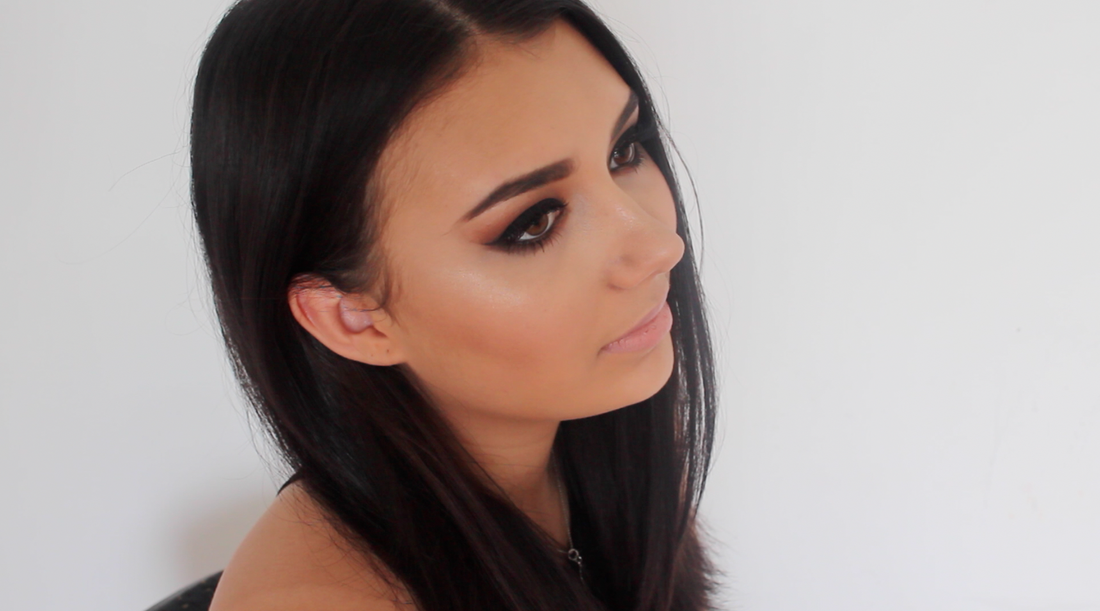 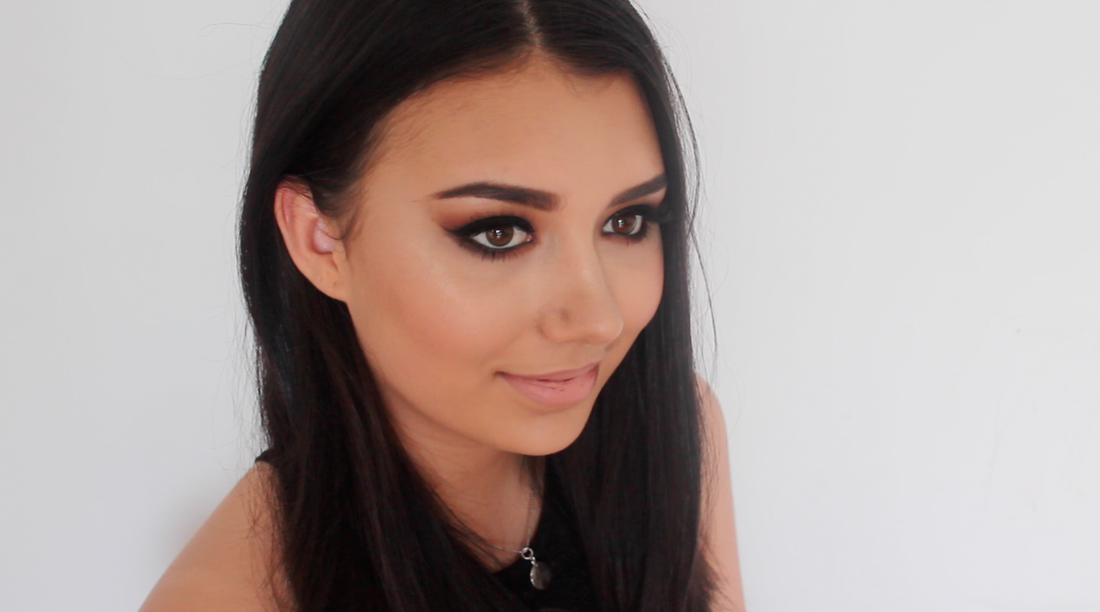 Mia
x
0 Comments
Leave a Reply. |
Mia KateBeauty Lifestyle Fashion Archive
December 2016
|